Hi there!
Our very own Sketch-y Friday DT member, Karen Young, is sharing a super fun technique with us today!
"This is a reverse stencil technique that I learned from the great Tim Holtz. I’ve used it to create backgrounds on a couple of my recent layouts and I am liking the results!
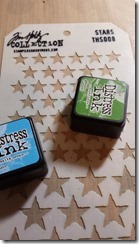
First choose your stencil and distress ink. You will also need, water (in a spray bottle), a paper towel, and your layout background paper.
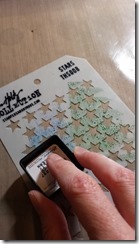
Start by pressing the distress ink pad onto the stencil.
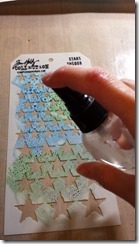
Next, take your water bottle and spray the ink until it beads up.
The amount of water is important to get the ink to spread under the stencil. It should look something like this.
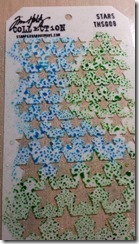
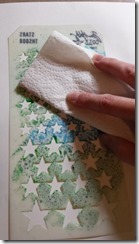
Next take your stencil, flip it over and press it down on the background paper. Dab with a paper towel as you press down to catch any ink that may try to spread through the holes in the stencil.
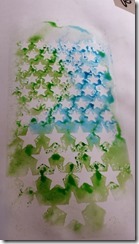
Now lift the stencil to reveal the yummy pattern you have created! Let dry or dry with a heat gun."
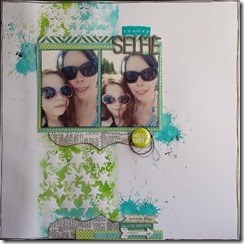
And here is Karen's layout using this technique, it is just amazing!
Thank you so much for sharing this technique with us Karen!
And thank you all for joining us today!
Your friends at ScrapMuch?

So fun!! I'm definitely going to try this one!! Thank you for sharing Karen!
ReplyDeletehave tried this with paint. . .will definitely try with ink and mister
ReplyDeleteFabulous Karen! I am going to try this out!
ReplyDeleteWow ! TFS, I will try this for sure ! Beautiful work !
ReplyDelete