Hello! It's Laura back with you today and oh my goodness what a month this is, so many lasts! Today I am sharing my last tutorial for ScrapMuch?, can you believe that I have shared over 280 tutorials on a weekly basis here on my blog! Wow, my family was right I do have a lot to say! Ha!
Boy did I struggle bringing you a final tutorial, I thought it should be something so amazing, something to WOW to heck out of you! It took me weeks to come up with something and in the end once I took the pressure off of myself and decided that I really wanted to create a layout, and that I wanted to colour coordinate papers and embellishments, the idea for my tutorial just came to me.
I bet you are just like me with tons of left over little bits and bobs from past purchases. I bet you would like a fun way to use some of them up. I bet you might want to buy more goodies, guilt free! LOL. Let me show you how I busted my stash (At least a little bit!).
Little circles of yumminess!
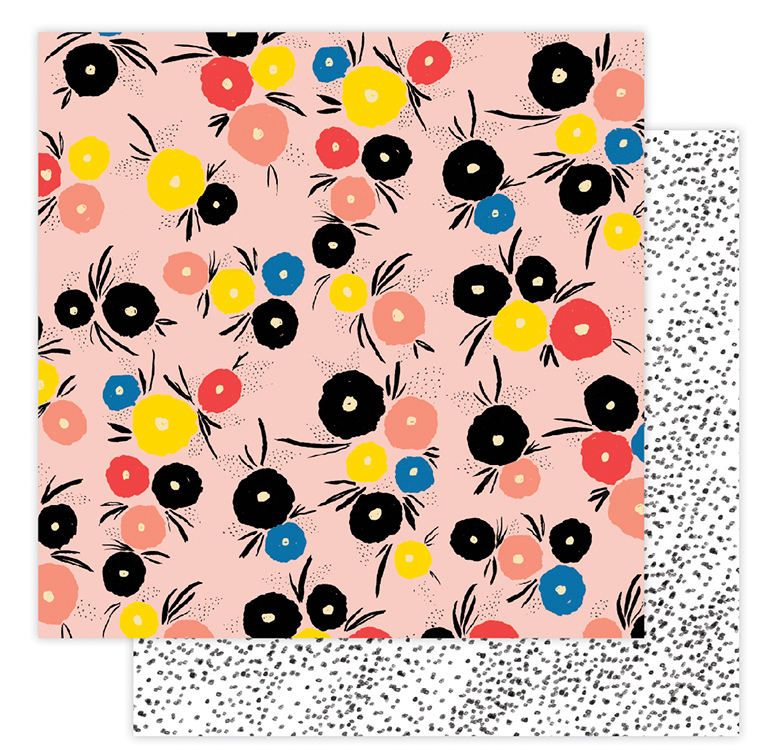
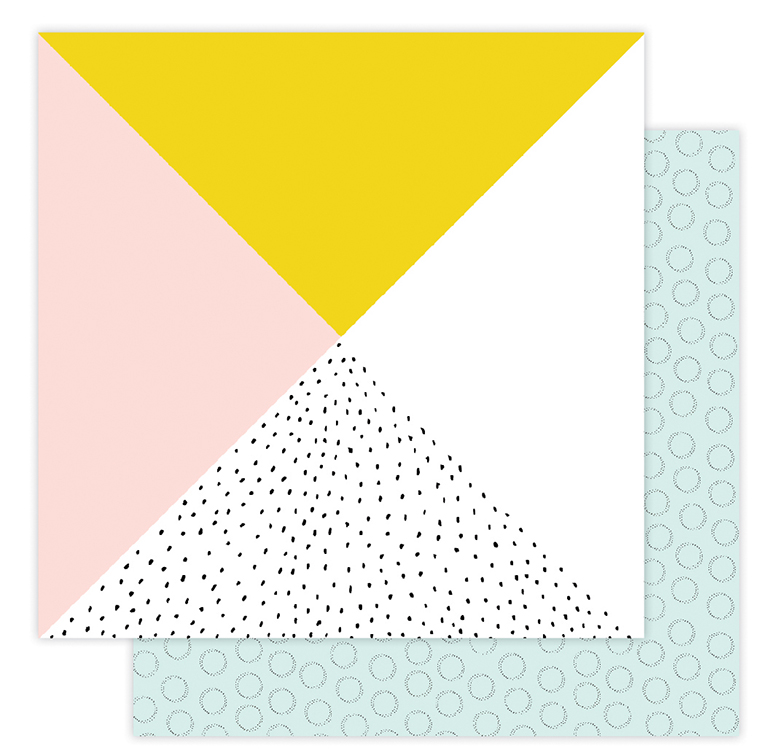
I had some scraps of this collection by Crate Paper that I also wanted to use up. I also had this wedding photo printed up and the pastels in this collection were just perfect for this pic. Pastels were big in the 80's, does Miami Vice ring a bell??
I didn't have a full sheet of paper from this collection but I found this one by Amy Tangerine in a light grey that worked well with the other papers, and since I have no other papers from this Amy Tangerine line I was nice to use it up as well!
I cut circles out of a white piece of cardstock with my Silhouette, but you could easily recreate this look without a Silhouette by using a variety of sized punched circles, so don't let the lack of a Silhouette scare you off.
I adhered the cardstock and patterned background together by lining up one of the bottom corners, just to change things up a bit as I do the "framed" look often.
Then I started adhering my scraps of patterned paper between the background layers.
This process is super quick, but you get a lot of impact for your few minutes and scrap papers!
I duplicated each colour so that my layout wouldn't be too busy.
I also tucked in a couple of strips of a striped pattered paper that helps to tie all my colours together.
Then the fun and stash busting part! I pulled out lots of flowers (which I hardly use so it was nice to do so), stickers (I have a large pile of stickers sheets with just a few on each), buttons (do have a million too), brads (wow something else I don't use often but still have a ton of), and left over chipboard bits.
I layered these elements in and around each circle sticking to the same colour but using a variety of tones of the colour, so my layout wouldn't look so flat.
I must say the peach was the hardest for me as I did not have much, but since our first apartment was decorated in peach and grey I felt nostalgic about using it! Luckily I found a few elements that worked.
Yellow is my happy colour, can you believe we just celebrated our 29th! I can't say it feels like yesterday but it sure as heck doesn't feel like 29 years! Where does the time go.
Oh mint green I am loving you all over again, in fact I was working on adding this colour as an accent to my craft room - but now I am giving up having a dedicated space so the mint is going, too.
I have said this before, but as a mom of all boys, I am all too happy to play with pink whenever it works!
This title was a left over piece that seemed just perfect for my page, too!
I also went in and added some grey elements to tie in my
background paper a little more, bust some more stash and because I could!
heehee!
As a last step I stitched around my page with a dark grey thread, it just needed a bit of something you know what I mean?
This tutorial may not be earth shattering, but I really had fun with it and I think you will too! And I love that I have a page that is a little different for me, but also a page that I love!
I also wanted to say, please do not think I am leaving the crafting world and forget to come visit me over at my blog, in the future. I will still be creating and sharing - just maybe a little differently.
So glad you visited today!
Showing posts with label Laura. Show all posts
Wednesday, May 25, 2016
Wednesday, May 18, 2016
Stained Glass Card | Tutorial | Free Cut File
Hello! Laura here with a fun technique to share with you today! How about we create this fun stained glass card! Of course you could use this technique on layouts, as well!
So let's gather your supplies, you will need: a card base, vellum, 4 colours of Copic or other alcohol based markers, scissors, adhesive, embellishments for your finished project and a die cut of some sort. You can grab the heart die cut that I created for this card below, if you like.
First, you will need to trim a piece of vellum to the size of your die cut.
Now flip the die cut upside down and layer the vellum over that.
Go ahead and start colouring on the vellum to fill in all of the areas where there are hearts.
Fill in all of the hearts.
Mix up the colours as desired.
Now trim the vellum so that it sits inside of the outer edges of the die cut. And then adhere it to the back of the die cut.
Now adhere both pieces to your card base.
Embellish your card as desired.
I kept my card pretty simple so that my stained glass would be the focal point. Just some ribbon and a simple tag.; created with a circle punch and a hole punch.
I just love the way it turned out, I can see me making these often with different designs. Think Christmas!
As I mentioned earlier, here is the die cut that I created for my card. Click on the image to grab it in Silhouette, PNG, SVG and PDF versions.
Supply list: American Crafts and Recollections cardstock; American Crafts vellum; Hemptique twine; Pebbles rubon; misc. button and ribbon; Copic markers (BG13, B04, R43, BV04).
Have a great day and thanks for visiting!
Laura
xo
So let's gather your supplies, you will need: a card base, vellum, 4 colours of Copic or other alcohol based markers, scissors, adhesive, embellishments for your finished project and a die cut of some sort. You can grab the heart die cut that I created for this card below, if you like.
First, you will need to trim a piece of vellum to the size of your die cut.
Now flip the die cut upside down and layer the vellum over that.
Go ahead and start colouring on the vellum to fill in all of the areas where there are hearts.
Fill in all of the hearts.
Mix up the colours as desired.
Now trim the vellum so that it sits inside of the outer edges of the die cut. And then adhere it to the back of the die cut.
Now adhere both pieces to your card base.
Embellish your card as desired.
I kept my card pretty simple so that my stained glass would be the focal point. Just some ribbon and a simple tag.; created with a circle punch and a hole punch.
I just love the way it turned out, I can see me making these often with different designs. Think Christmas!
As I mentioned earlier, here is the die cut that I created for my card. Click on the image to grab it in Silhouette, PNG, SVG and PDF versions.
Supply list: American Crafts and Recollections cardstock; American Crafts vellum; Hemptique twine; Pebbles rubon; misc. button and ribbon; Copic markers (BG13, B04, R43, BV04).
Have a great day and thanks for visiting!
Laura
xo
Monday, May 16, 2016
Spring Swag | Free Digital Cut File
Hi friends Laura here sharing a new digital cut file today! It is available in Silhouette Studios, PNG, SVG and PDF formats.
As always, click on the image to be taken to my download page.
Thanks for visiting!
As always, click on the image to be taken to my download page.
Thanks for visiting!
Friday, May 13, 2016
Sketch-y Friday with Team A | May 13 2016
Hello and welcome!
We are sharing a brand new sketch challenge today and hope to see you play along!
And here is your Team A DT inspiration!
Here is a run down of our Sketch-y Friday rules. Just link up your creations in our sidebar to be entered into a random draw
for our monthly
prize. You have until May29th , at midnight to participate in any of this month's sketch
challenges, each linkup tool will remain open until that
date! You may take some artistic license with your adaptation of the sketches, however if you choose to use a double page sketch for a single page layout you may only enter once per sketch, not once per side.
If you are playing along with more than one challenge you will need to link each of them up via a separate blog post for the link up tool to work. (International participants may be required to pay some shipping fees.) Good luck, we cannot wait to see what you create!
*note - If you are playing along using Flickr the team will no longer be leaving comments, due to changes in Flickr policies and passwords. However, we will be checking out your entries for sure and you are definitely eligible for the prize draw. Our apologies for any inconvenience this may cause.
Thanks for visiting!
We are sharing a brand new sketch challenge today and hope to see you play along!
And here is your Team A DT inspiration!
If you are playing along with more than one challenge you will need to link each of them up via a separate blog post for the link up tool to work. (International participants may be required to pay some shipping fees.) Good luck, we cannot wait to see what you create!
*note - If you are playing along using Flickr the team will no longer be leaving comments, due to changes in Flickr policies and passwords. However, we will be checking out your entries for sure and you are definitely eligible for the prize draw. Our apologies for any inconvenience this may cause.
Thanks for visiting!
Wednesday, May 11, 2016
Creating a Custom Offset in Silhouette Studio | Video Tutorial with Laura
Hey friends!
Laura with you today, sharing a video tutorial to show you how to create custom offset panels in Silhouette Studio, like the one I created for this shamrock windowed gable box.
Please watch here on my You-tube channel. If you like what you see please be sure to give me a thumbs up and subscribe to my channel. I am hoping to do some more video sharing in the near future.
Laura with you today, sharing a video tutorial to show you how to create custom offset panels in Silhouette Studio, like the one I created for this shamrock windowed gable box.
Please watch here on my You-tube channel. If you like what you see please be sure to give me a thumbs up and subscribe to my channel. I am hoping to do some more video sharing in the near future.
I hope you enjoyed this and maybe learned something!
Thanks for visiting today!
Sunday, May 1, 2016
Laura's Monthly Reveal
Laura here and I am so excited to share my monthly reveal today! I was just thrilled when I opened my kit and discovered that I had received the following papers, stickers and a sheet of a silver striped acetate specialty paper from the Seven Paper Collection called Goldie, put out by American Crafts.
I am so in love with this colour combo! It strikes me as funny that I may not have paid too much attention to this collection if I was shopping on my own, mainly because of how much black and white there is in it. But the A sides are so full of gorgeous colour, just perfect for pulling us out of our winter funk and I thoroughly enjoyed working with it it.
For my first page, I chose to play with this fabulous triangular grid style paper, I just love it and it really holds it's own as far as interest is concerned so you do not need a whole lot of other papers. I have been waiting to scrap this photo that I snapped of the wall above the desk in my scrap room, taken after I had added a bunch of gold accents to my decor.
I couldn't resist adding this large glittery "create" word as my title, which has BIG impact and is oh so gorgeous!
I knew I wanted this page to make bold and girly, so I created this large paper rosette from one of the vibrant patterned papers, and then nestled a few fussy cut flowers around it, adding enamel dots to the centres for extra pop!
On the other side of my photo, I added a few more fussy cut flowers, a doily and a couple of buttons from my stash as well as a little round ephemera piece from Jillibean Soup. I am sorry, I cannot remember where the flower pin came from, it had been sitting on my desk for quite some time waiting for just the right project to jump on to!
Now a gal can't have too much gold, so I added in a bit more using a stencil and some Heidi Swapp gold texture paste, it is so pretty!
I finished off my page by splattering some black Mr. Huey's mist around.
I felt I should aim for a more masculine page for my next layout, but still wanted it to be fun, so I pulled out this photo of these three hams!
I love the look of the silver acetate specialty paper, and wanted it to be a feature on my layout, I cut two equal sized strips and layered them in reverse, one on top of the other and slightly offset to create a grid pattern with them.
I used the stickers and enamel dots given to me to accent my page, but also pulled some old My Mind's Eye ephemera (from a previous ScrapMuch? DT kit) from my stash to adorn my page.
Boy did the yellows in this collection ever speak to me, such a happy and sunshine-y colour! And wow were the colours in this collection ever perfect for this photo of Timmy and I in our brightly coloured life jackets! Even our t-shirts match! I hope no one is getting board of my lake photos, I try to mix things up but this is a huge part of our summers.
I had this idea for this page, to use lots of patterns. So I die cut several different sized circles form a 5 x 12 piece of white cardstock. Then I layered it over another piece of white cardstock measuring 12 x 12 that would act as my base page. Next I sandwiched strips of a variety of patterns between the two layers. Finally I added in some messy stitching within the circles for a bit of texture.
I balanced all of this pattern with some strips of pattern on the opposite side of my layout.
Next I determined where I wanted my photo to sit and then went in and added some white Gesso and water colour paints to peek out from behind it.
I was going to cut my title out of yellow cardstock but I already had a scrap of white on my Silhouette mat so I cut it our of that and coloured it with some Gelatos, it was so fun and easy and I love the look.
I embellished this page with some fussy cut flowers and enamel dot centres, some cork that I picked up at ScrapMuch? a long while back - one of which I painted yellow to coordinate with this collection (I had been slowly using them up but as much as love them I am glad to say this is the last of my stash - make room for something new!), the anchor ephemera is from Fancy Pants, you will also note small MME alphas and Tim Holtz rubons.
To finish off my page I sprinkled some teal Mr. Huey's around.
I also created this fun altered item for the ScrapMuch? booth at the recent Crop and Create event, it was super fun and quick to pull together.
The darling glittered word is by Pebbles, from their DIY line,, and came in a package of 6 chunky sparkly words that are perfect for layouts and other crafts.
I die cut the rest of the paper elements and adhered them all to this chalkboard heart that I picked up at the dollar store. For about 15 minutes worth of work I created a super cute and inspirational home decor piece!
Supply List: American Crafts patterned paper, stickers and acetate paper; Eyelet Outlet enamel dots; Pebbles glittered words; Faber Castell Gesso; Leow's water colour paints; yellow Gelato; Heidi Swapp gold texture paste; black and teal Mr. Huey's; misc. buttons, doily and flower clip; MME, Jillibean Soup, Fancy Pants Designs and Amy Tangerine ephemera; MME chipboard; Staedtler pen; Uniball Signo white pen; Studio Calico cork; MME mini alphas; Tim Holtz rub ons.
Thanks for visiting!
and...
sparkly black enamel dots by the Eyelet Outlet
&
I am so in love with this colour combo! It strikes me as funny that I may not have paid too much attention to this collection if I was shopping on my own, mainly because of how much black and white there is in it. But the A sides are so full of gorgeous colour, just perfect for pulling us out of our winter funk and I thoroughly enjoyed working with it it.
Create
For my first page, I chose to play with this fabulous triangular grid style paper, I just love it and it really holds it's own as far as interest is concerned so you do not need a whole lot of other papers. I have been waiting to scrap this photo that I snapped of the wall above the desk in my scrap room, taken after I had added a bunch of gold accents to my decor.
I couldn't resist adding this large glittery "create" word as my title, which has BIG impact and is oh so gorgeous!
I knew I wanted this page to make bold and girly, so I created this large paper rosette from one of the vibrant patterned papers, and then nestled a few fussy cut flowers around it, adding enamel dots to the centres for extra pop!
On the other side of my photo, I added a few more fussy cut flowers, a doily and a couple of buttons from my stash as well as a little round ephemera piece from Jillibean Soup. I am sorry, I cannot remember where the flower pin came from, it had been sitting on my desk for quite some time waiting for just the right project to jump on to!
Now a gal can't have too much gold, so I added in a bit more using a stencil and some Heidi Swapp gold texture paste, it is so pretty!
I finished off my page by splattering some black Mr. Huey's mist around.
Say Cheese
I felt I should aim for a more masculine page for my next layout, but still wanted it to be fun, so I pulled out this photo of these three hams!
I love the look of the silver acetate specialty paper, and wanted it to be a feature on my layout, I cut two equal sized strips and layered them in reverse, one on top of the other and slightly offset to create a grid pattern with them.
I used the stickers and enamel dots given to me to accent my page, but also pulled some old My Mind's Eye ephemera (from a previous ScrapMuch? DT kit) from my stash to adorn my page.
On Lake Time
Boy did the yellows in this collection ever speak to me, such a happy and sunshine-y colour! And wow were the colours in this collection ever perfect for this photo of Timmy and I in our brightly coloured life jackets! Even our t-shirts match! I hope no one is getting board of my lake photos, I try to mix things up but this is a huge part of our summers.
I had this idea for this page, to use lots of patterns. So I die cut several different sized circles form a 5 x 12 piece of white cardstock. Then I layered it over another piece of white cardstock measuring 12 x 12 that would act as my base page. Next I sandwiched strips of a variety of patterns between the two layers. Finally I added in some messy stitching within the circles for a bit of texture.
I balanced all of this pattern with some strips of pattern on the opposite side of my layout.
Next I determined where I wanted my photo to sit and then went in and added some white Gesso and water colour paints to peek out from behind it.
I was going to cut my title out of yellow cardstock but I already had a scrap of white on my Silhouette mat so I cut it our of that and coloured it with some Gelatos, it was so fun and easy and I love the look.
I embellished this page with some fussy cut flowers and enamel dot centres, some cork that I picked up at ScrapMuch? a long while back - one of which I painted yellow to coordinate with this collection (I had been slowly using them up but as much as love them I am glad to say this is the last of my stash - make room for something new!), the anchor ephemera is from Fancy Pants, you will also note small MME alphas and Tim Holtz rubons.
To finish off my page I sprinkled some teal Mr. Huey's around.
I also created this fun altered item for the ScrapMuch? booth at the recent Crop and Create event, it was super fun and quick to pull together.
The darling glittered word is by Pebbles, from their DIY line,, and came in a package of 6 chunky sparkly words that are perfect for layouts and other crafts.
I die cut the rest of the paper elements and adhered them all to this chalkboard heart that I picked up at the dollar store. For about 15 minutes worth of work I created a super cute and inspirational home decor piece!
Supply List: American Crafts patterned paper, stickers and acetate paper; Eyelet Outlet enamel dots; Pebbles glittered words; Faber Castell Gesso; Leow's water colour paints; yellow Gelato; Heidi Swapp gold texture paste; black and teal Mr. Huey's; misc. buttons, doily and flower clip; MME, Jillibean Soup, Fancy Pants Designs and Amy Tangerine ephemera; MME chipboard; Staedtler pen; Uniball Signo white pen; Studio Calico cork; MME mini alphas; Tim Holtz rub ons.
Thanks for visiting!
Subscribe to:
Posts (Atom)