Monday, May 11, 2015

Manufacturer Spotlight - We R Memory Keepers

Hi there!


We R Memory Keepers is in our spotlight this month, and today we thought we would share a link to a fun project they have a tutorial for.  One of their designers is sharing a tutorial and printable template for fun party hats using the new Cake & Candles collection. Check it out here.

Have a great day and happy crafting!

Sunday, May 10, 2015

May Crop Dates

Hi there!

Here are the details for our end of May crop...


When: Saturday May 30th 8:00 am - 5:00 pm
 
Where: Salvation Army Church
33 Diana Ave. Brantford, Ontario

Cost of the crop is ONLY $25+hst and includes snack, lunch, refreshments and a small gift for all attendees!

Bring your supplies and get ready for a day of scrappy fun. 

  
Registration Required. Register Here.

Looking forward to seeing you all, thanks for visiting! 

Friday, May 8, 2015

Sketch-y Friday with Team B!

Hi there and happy Friday!

We have Team B, along with the remainder of our new teammates, here today to inspire you!

Here is your sketch....


Here is a run down of our Sketch-y Friday rules.  Just link up your creations in our sidebar to be entered into a random draw for our monthly prize.    You have until May 29th, at midnight to participate in any of this month's sketch challenges, each linkup tool will remain open until that date!  You may take some artistic license with your adaptation of the sketches, however if you choose to use a double page sketch for a single page layout you may only enter once per sketch, not once per side.

If you are playing along with more than one challenge you will need to link each of them up via a separate blog post for the link up tool to work. (International participants may be required to pay some shipping fees.)  Good luck, we cannot wait to see what you create!

 *note - If you are playing along using Flickr the team will no longer be leaving comments, due to changes in Flickr policies and passwords.  However, we will be checking out your entries for sure and you are definitely eligible for the prize draw. Our apologies for any inconvenience this may cause.

Thanks for visiting!
Your friends at ScrapMuch?!

Thursday, May 7, 2015

Inspiration on Thursday

Hi there!


How about some Spring flowers to inspired you today!  This gorgeous card was created for Elaine, trust me it is even more incredible in person!

Happy crafting!

Wednesday, May 6, 2015

Tie Dyed Ribbon Tutorial with Tiiu

 Hi htere!

Our DT member, Tiiu Jaanusson, is sharing a fun tutorial with us today!  I will hand things over to here to lead you through her process for tie-dyed ribbon!

"Hey everyone!

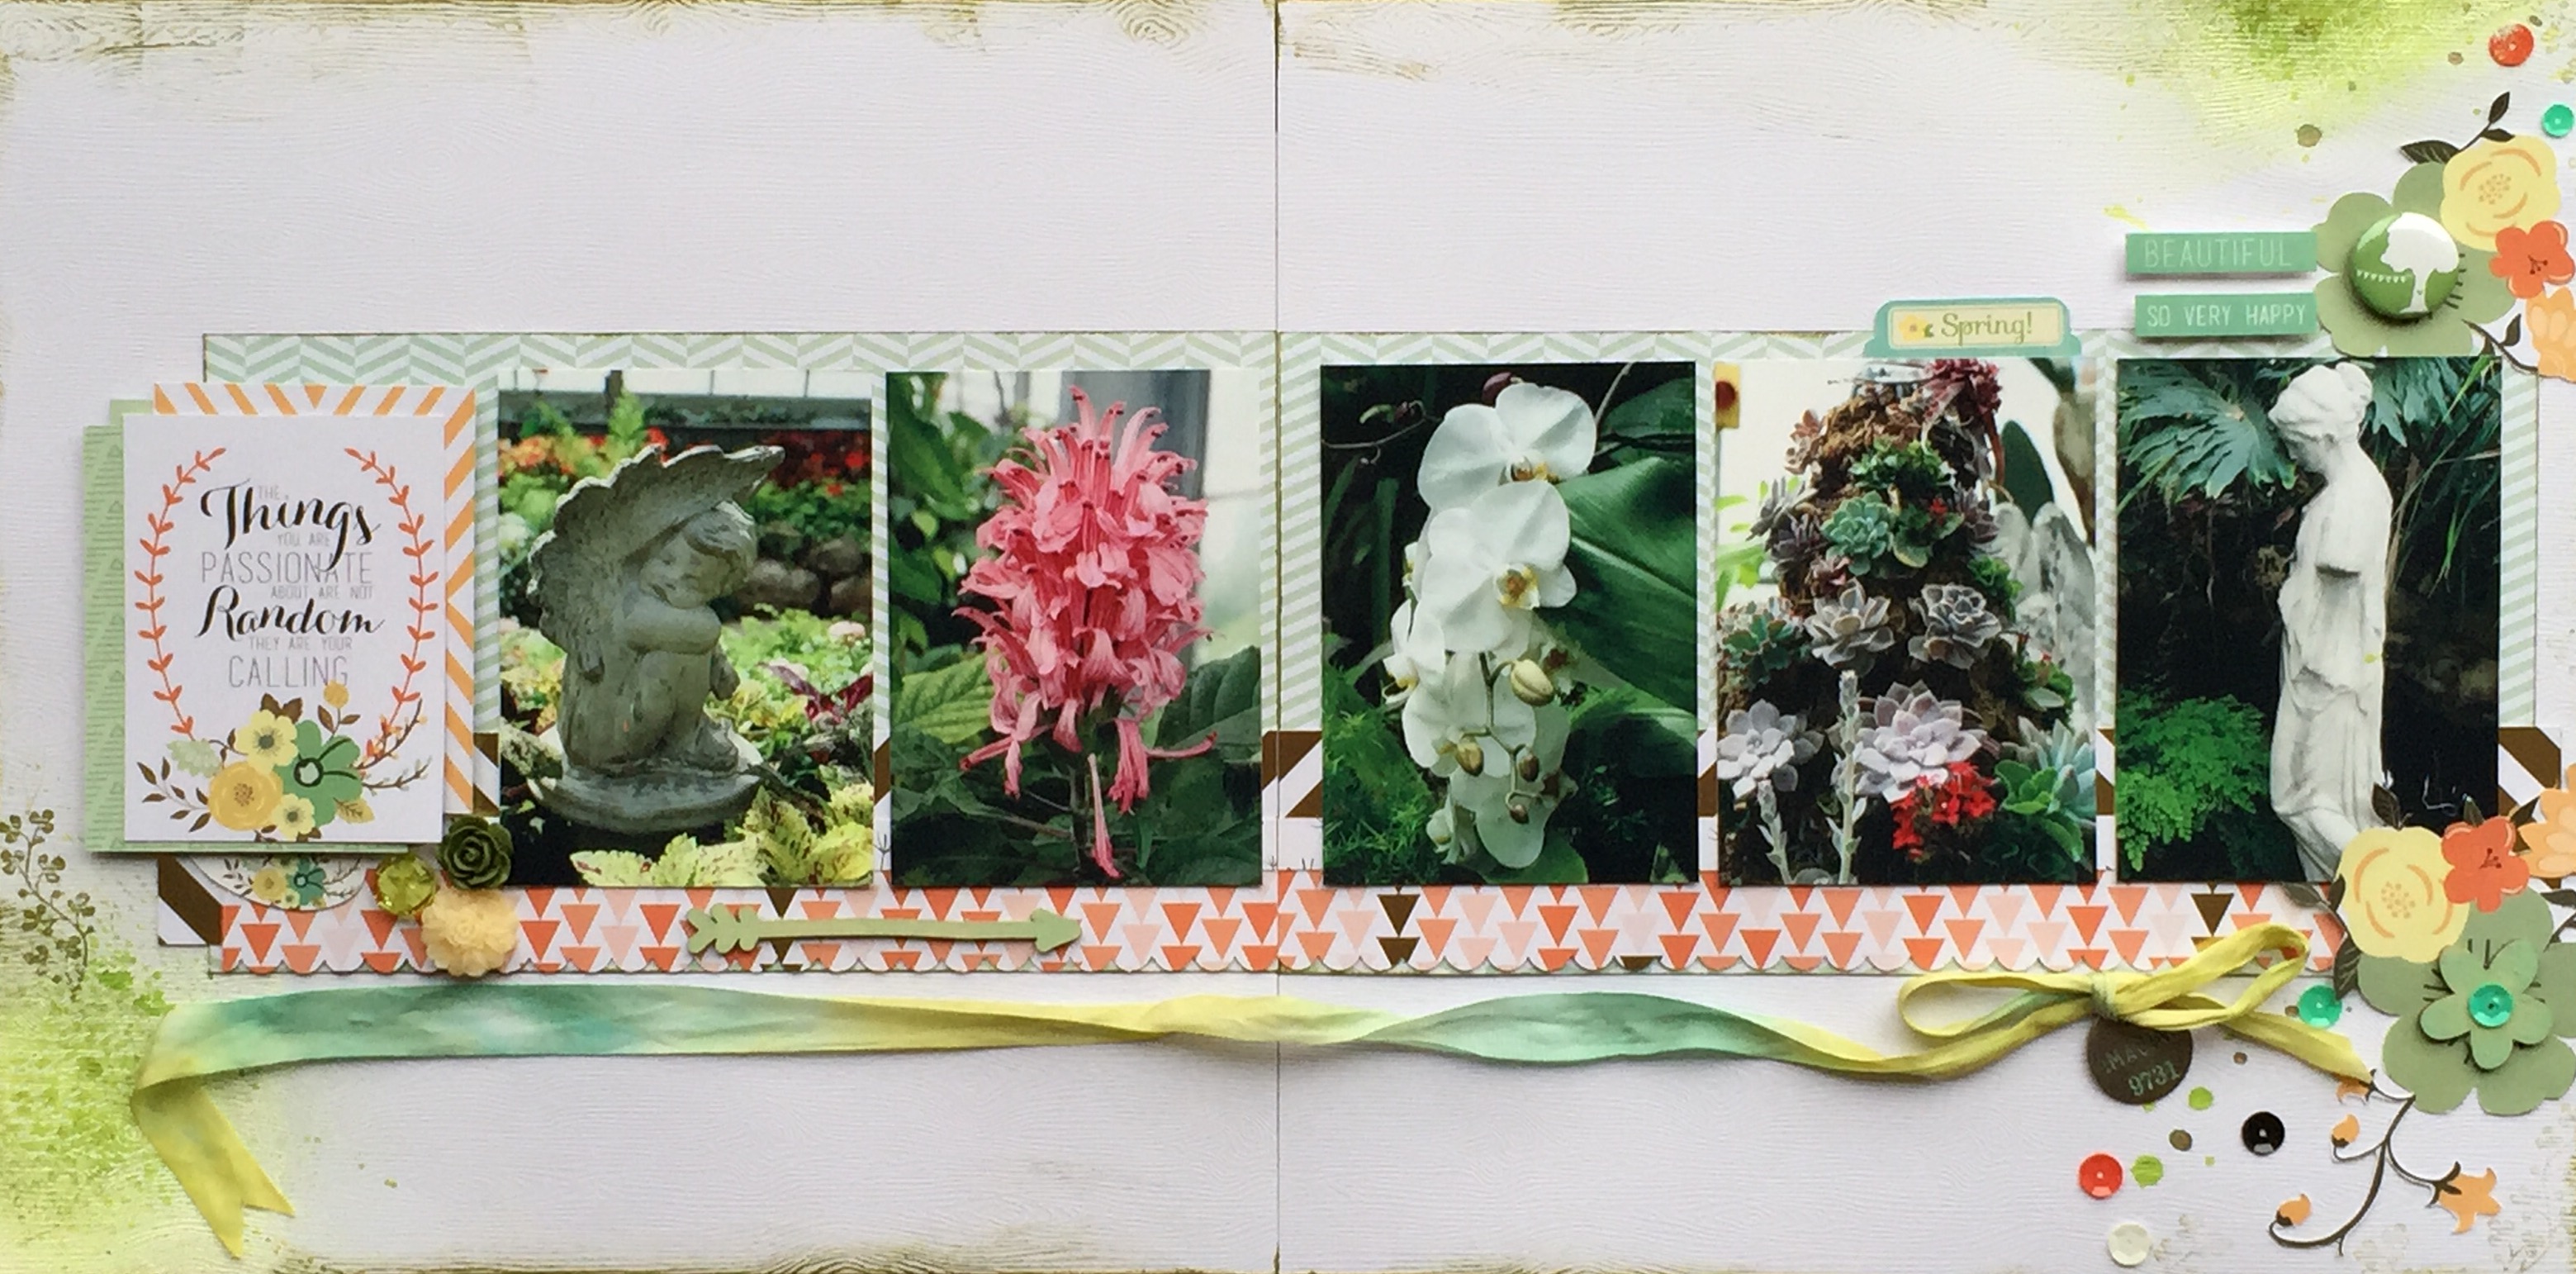
I'm here with a rare tutorial sharing the technique of how I created that fabulous "Tie Dye" ribbon in my Botanique layout.

Untitled 

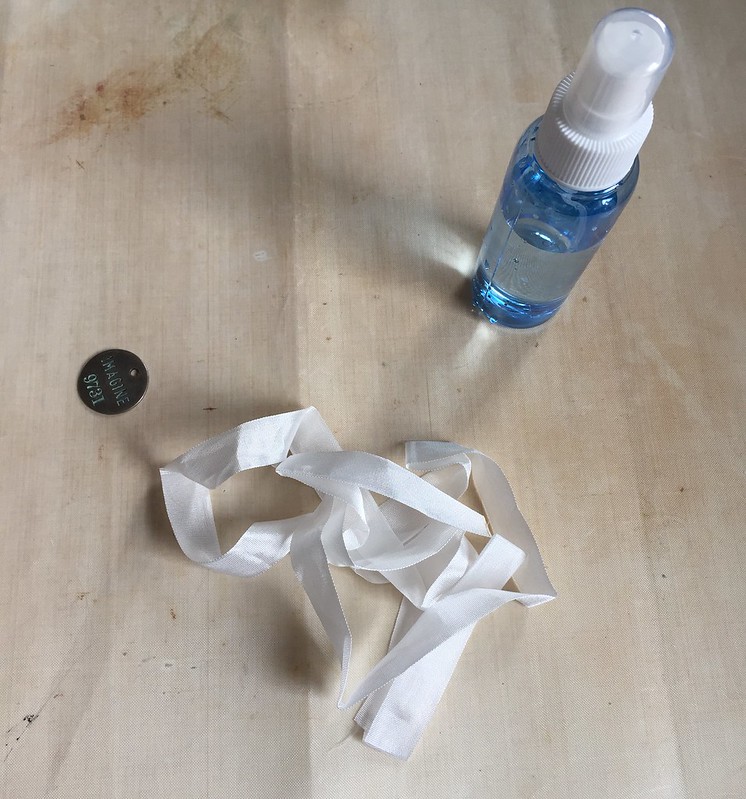
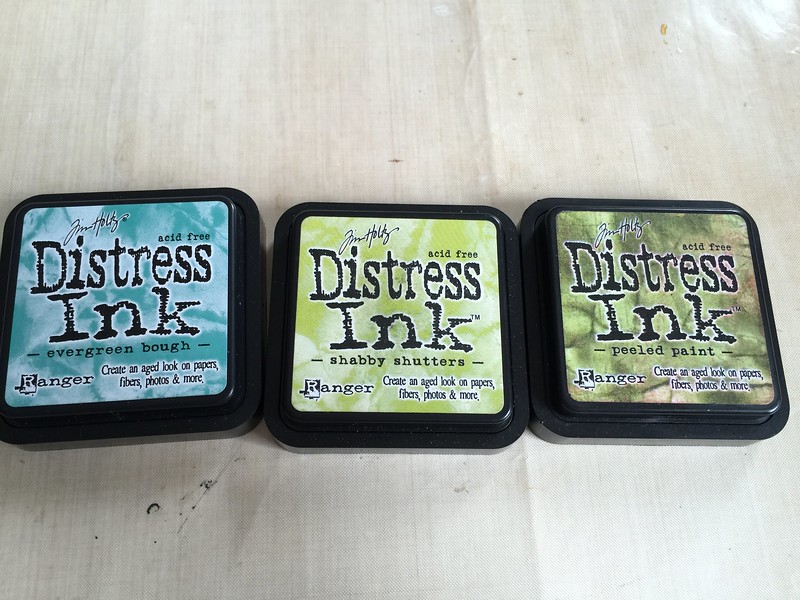
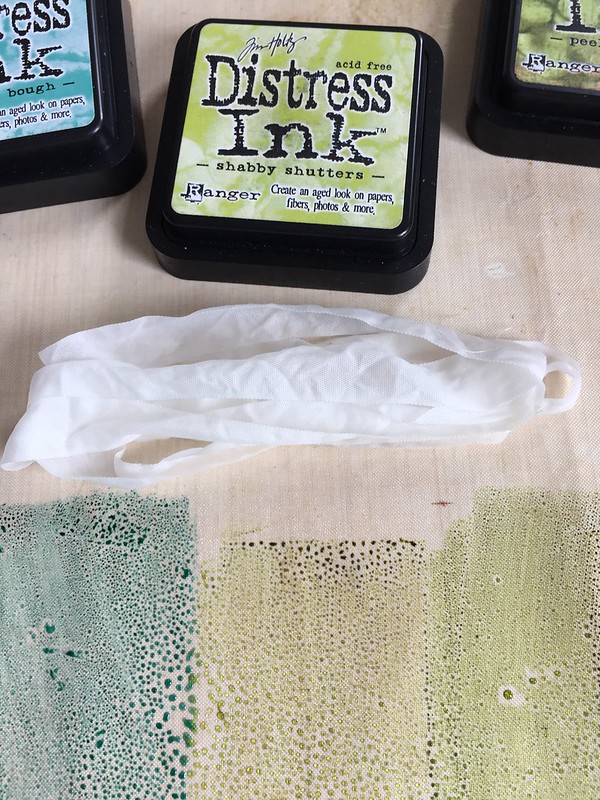
It's a technique I've used in a few different ways on a number of projects that I made at various events - mostly Inspiration Unlimited and at Creative Escape too. So here's what you need: A Ranger Ink Non-Stick Craft Sheet (This is a MUST!!); 3 or more colours of Tim Holtz Distress Ink Pads; Tim Holtz Idea-Ology Crinkle Ribbon; and a water spray bottle. 

Untitled 

I chose 3 different greens for the ribbon to stick with my monochromatic botanical feel. 

Untitled

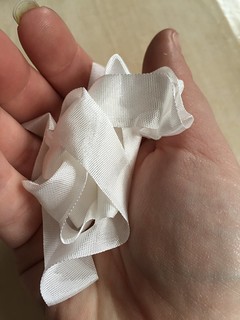
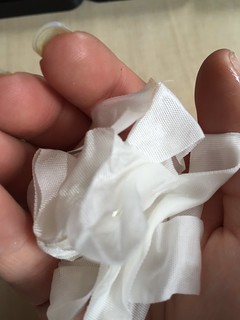
Take a length of ribbon you'd like to use and crinkle it in your hand, then spritz with water to get the ribbon well wet as it will help the colours to blend on the ribbon. 

UntitledUntitled

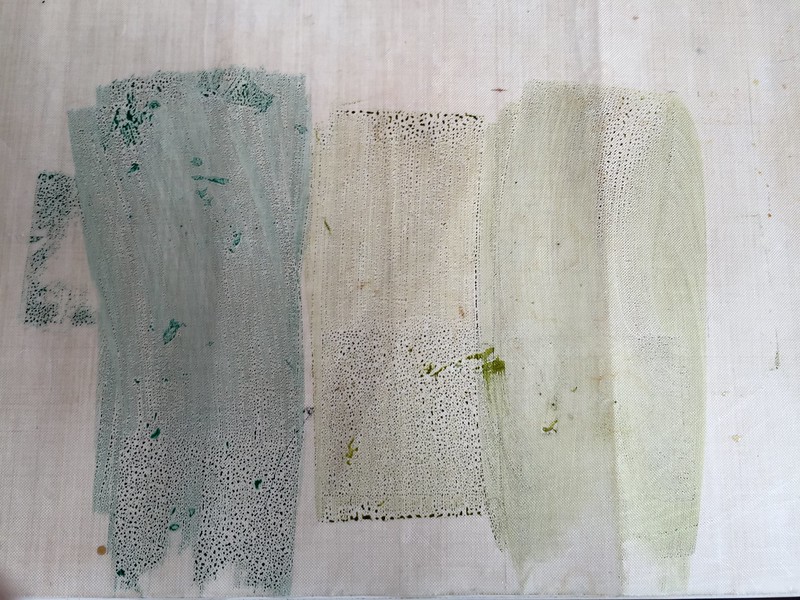
Then take your inks and ink up your craft mat so that the edges are close enough to touch. Try not to overlap so that the ink pads don't pick up the ink from the other. 

Untitled

Then take your water and mist the ink on your mat. The inks are water-based and will react nicely with the fine mist of extra water, and will also help to draw it along the ribbon. 
 
Untitled 

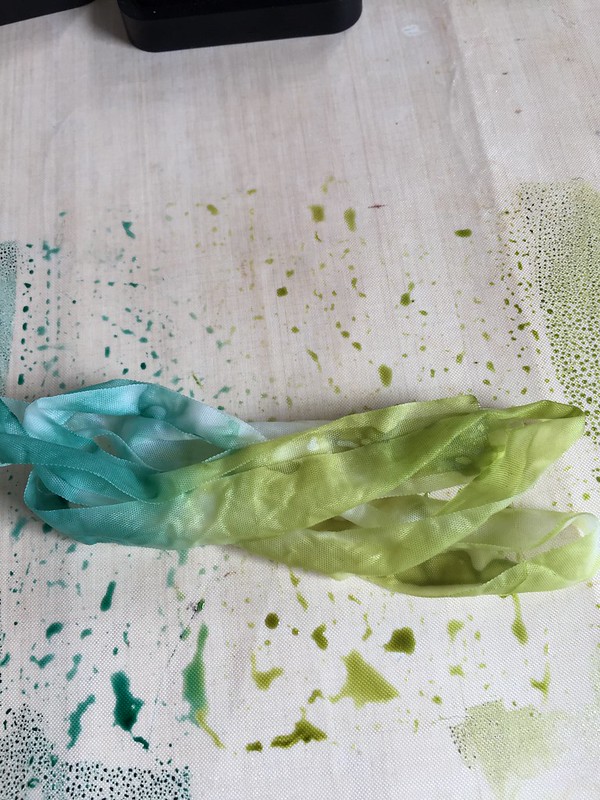
I fold my ribbon evenly, and then just move it back and forth through the lines of ink and watch the ink work it's way through the ribbon. At this point you control just how much or how little colour and white space you want your ribbon to have. 

Untitled

That's seriously it. Then just set it aside to dry, or if you are impatient you can gently use your heat tool too. Here are some projects where I've either done this or a similar technique with the ribbon.

Untitled

On these next three projects I have run the ribbon dry through a small bowl of Tattered Angels Glimmer Mist and then scrunched after, or a quick dry scrunch, dip and remove to dry. It gives a slightly different effect as you'll see, but for the most part the end result is the same. 

Untitled

Untitled

Does anyone else have problems with curious kitties while crafting or is it just me?

Untitled

I hope this inspires you to find some fun new ways to work some ribbon in to your layouts (and get your fingers wonderfully inky!).

Thanks for stopping by! 

Tiiu" 

Thank you for sharing, Tiiu, that is a fantastic technique I think you will be seeing some gorgeous ribbons on our projects in the near future!

And thank you all for joining us!  If you are looking for any of the products mentioned in the tutorial, please email the store.

Have a crafty day!