
We have a real treat today DT member, Tiiu,, is sharing a super awesome tutorial with us!! Take it away Tiiu!
"Hi everyone! Today I'm sharing a super cool technique I learned from the awesome Paula Cheney at the Ready Set Create event in Burbank in August. For those that don't know, Paula is the Creative Coordinator for Tim Holtz brands. And if you haven't been fortunate to take a class or workshop from her, you'll just have to trust me that she is awesome!! I've been very fortunate to take a few from her over the years, even going as far back as to when she was with 7Gypsies (another one of my fav scrapbooking companies). The technique involves making a DIY plaid technique using a Tim Holtz stencil, "Stripes", as well as 3 Tim Holtz Distress Mini Inks of your choice. You will also need some water to spritz as well.
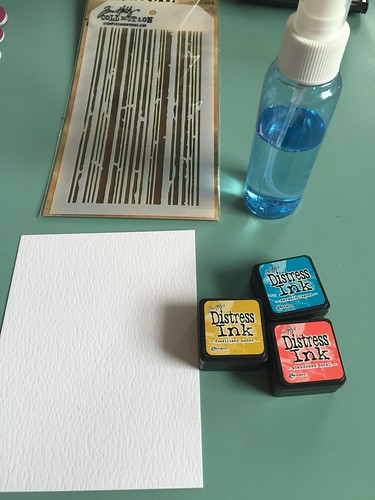
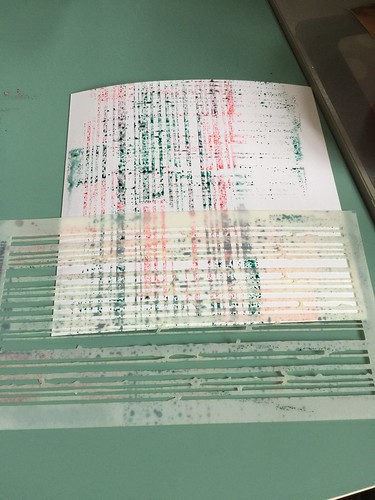
When we first did this technique it was with a shipping tag. This time I opted to first try it with some Ranger watercolor paper. The first step is to ink up your stencil with the minis in a random pattern. I recommend going with 2 dominant colours and one accent colour.
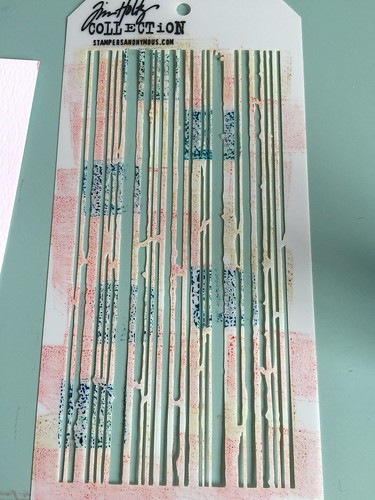
Then you are going to mist your stencil to make the inks bead up.
Next you need to place your stencil on the paper. I cheated and put the paper on the stencil.

Then you need to turn your stencil, or the paper horizontally.
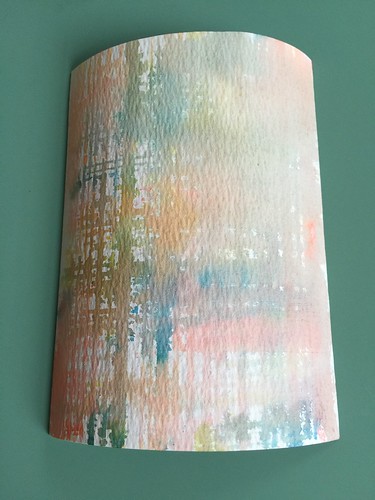
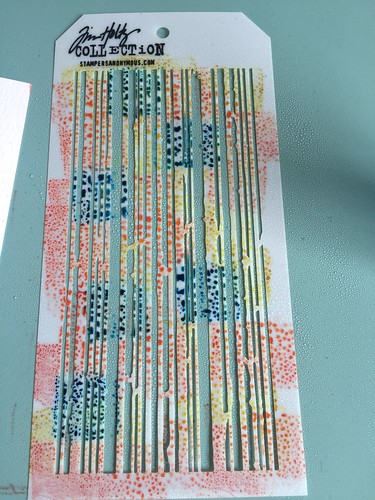
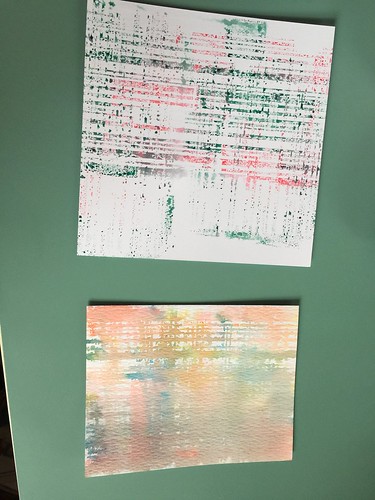
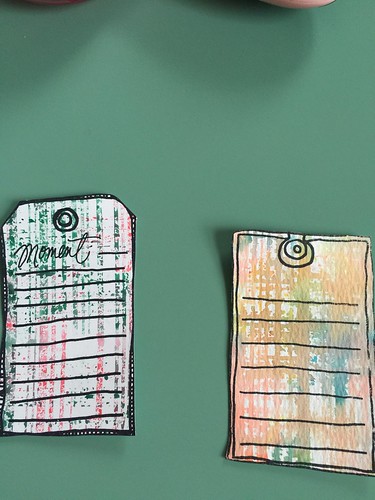
And you will wind up with this: I went a bit too heavy handed with the spritzing, but I definitely love the way the inks all dreamily ran together. While I set that one to dry, I decided to try another with different colours and smooth cardstock. This time I actually did it the "right" way by moving the stencil not the paper.
You'll see that the ink sits differently on the smooth cardstock vs the watecolour paper. The lines are also significantly more distinctive. After some drying time, here are the 2 finished products side by each.
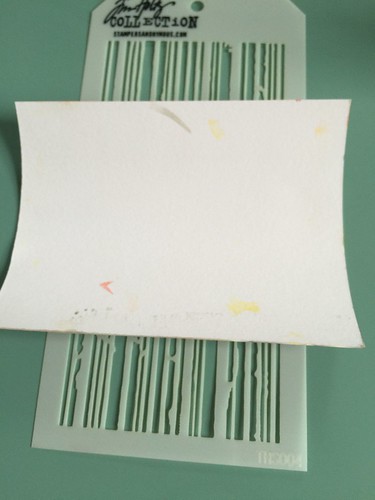
So now I decided to make some journaling tags, but you could definitely use this to DIY some custom backgrounds on your cardstock for layouts, or as matting for your photos. I just stamped directly on the paper.
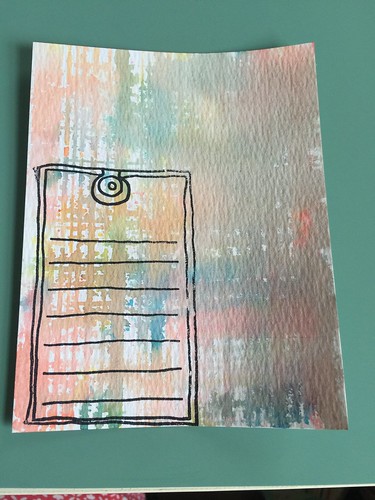
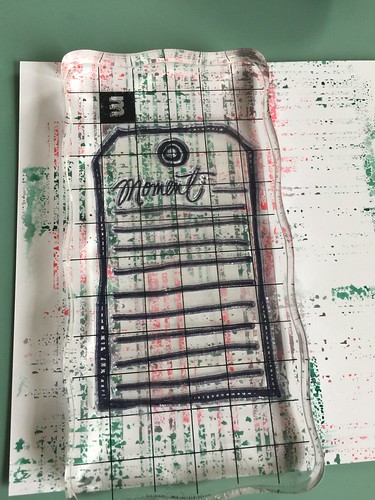
And here is the end result: I hope I've inspired you to try new techniques with your stencils and inks. If you are looking for more inspiration with using Tim Holtz products I highly recommend following Paula Cheney's blog. She is amazing!!!"
Thank you so much Tiiu, this is a fabulous tutorial and a really great technique!
Thanks for visiting us today!
cool, thank you!
ReplyDeleteWhat a great technique! Thanks so much for sharing it! :o)
ReplyDeleteLove this idea! Thanks Tiiu!
ReplyDeleteThank you so much for sharing Tiiu! It looks amazing!
ReplyDeleteI've used a likely technique but without the stencil. So thanks for the tip! Åsa xx
Fantastic tutorial! Love both tags but I think I like the first one better...more messy! I'll be sure to try this soon :)
ReplyDelete