Hi there!
Laura here with a fun flower tutorial to share with you today.
To get started you will need a scrap of patterned paper, a 1 inch circle punch, a brad, adhesive, a paper trimmer, and a 1/8th inch hole punch (or piercing tool).
Cut your patterned paper into 1/2 inch strips and a little over twice as long as you want your finished flower. For example, my flower measures about 2 inches so my strips are 4.5 inches - giving me a half inch overlap when creating my loops.
I used 6 loops on my flower but larger flowers may need more loops to make them appear fuller.
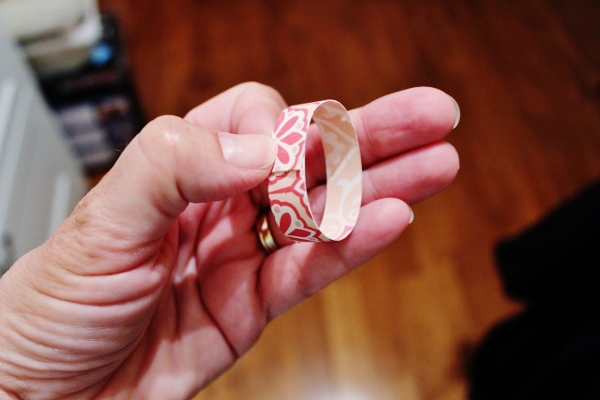
Add a little adhesive to one end of the strip.
Overlap the ends to form a loop.
Hole punch or pierce the centre of your strip.
Like this.
Hole punch o pierce the centre of a 1 inch circle that has been punched from a coordinating colour.
Feed your brad through the punched and pierced circle.
Start layering your loops to fill in your flower.
Like this.
This is what the front should look like, you may want to play with the placement of the loops to straighten them out.
And this is what it looks like on my tag. These loopy flowers would look adorable on a card or layout - or event a little present! What do you think?
Thanks for visiting today!
Laura
xo


So smart and easy :) Thanks so much for the tips :) Hugs Anna :)
ReplyDeleteGorgeous embellishment!. I'd love to try it one day.
ReplyDelete