
I recently played around with my FUSE tool looking for fun ways to use it.

I created a sealed tag using a clear 4 x 4 photo pocket. It may be a little hard to see it in the photo above, but I will walk you through the steps so you can make one for yourself.

First gather your supplies: you will need a FUSE tool (the ruler is not needed for this process) a photo pocket, scissors, sequins (or whatever you would like to put into your finished shape, and a template / die cut of the shape that you would like to create. Preheat your FUSE tool.

The first step is to add the filling into your pocket.
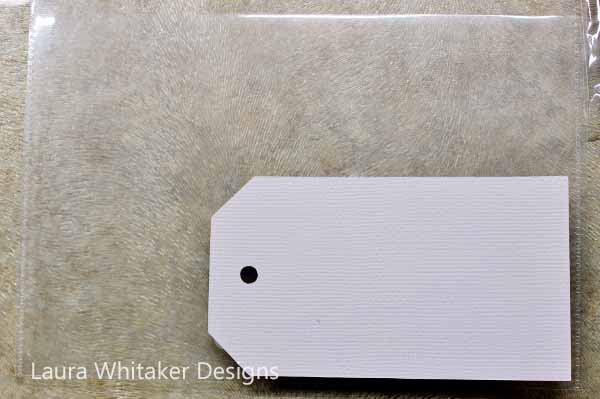
Now lay your die cut over top, I took advantage of two of the sealed sides by placing my die cut tag into the corner.

Now run your heated up FUSE tool around but outside of the edges of the tag, thus sealing the rest of the shapes sides.

You will end up with something resembling the above photo.

Now go ahead and trim off the excess plastic.

I have shown this layout before, but it will give you an idea of how I used my sequin tag pocket.
Supply List: Fancy Pant Designs patterned papers and flair; American Crafts white cardstock and bakers twine; We R Memory Keepers Fuse tool and waterfall sleeves; Amy Tangerine alpha stickers; Mr. Huey's mist in Heirloom Blue and Amarillo Yellow; Heidi Swapp Gold Color Shine mist; CTMH Hollyhock ink pad; Staedtler felt tip pen in grey; Lawn Fawn sequins; misc. toothpicks and black thread.
Thanks for visiting!
Laura
Nice! Lovely result, and neat idea for a 'template' for a shape.....thanks for sharing.... I really like this:):)
ReplyDeleteLove the page and the idea for using the fuse tool!
ReplyDeleteCool idea...I am going to try this out!
ReplyDelete