How about a quick and easy DIY gift bag? I needed a smaller gift bag the other day and didn't have one. But I do have a plethora of paper!
So I grabbed this pretty polka dot sheet from the Amy Tangerine's Better Together paper pad and got busy making one.
First you will want to fold over your paper a few inches.
And then you will fold the other side over so that there is enough of an overlap to add adhesive.
Your paper should be looking like this.
Now run some adhesive inside the seam and adhere the two sides together. Be careful not to get adhesive on the inside, you do not want to seal your bag closed in the middle.
Now you will have basically a large tube.
Now fold up one end a couple of inches and score.
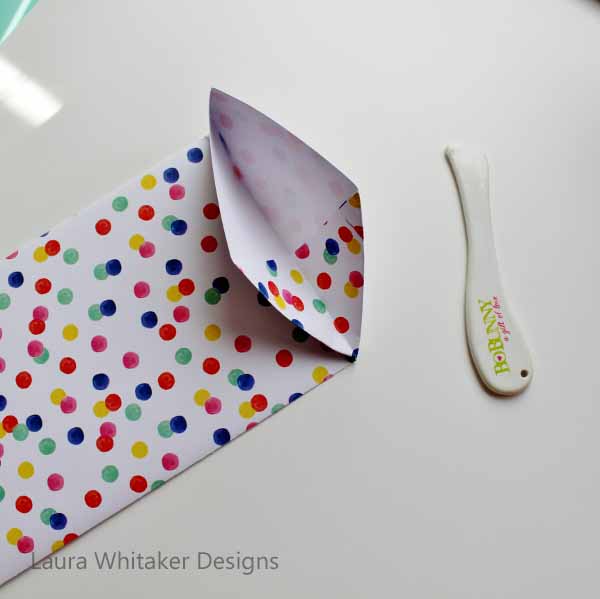
Open up the flap that you just created and press one side towards the middle.
Repeat for the second side.
Next you will fold up the bottom flap.
And fold down the top flap.
Adhere the two flaps together and you are finished.
So this is basically your finished bag, but of course we have to have some fun!
So once you fill your little gift bag, we can add some embellishments.
You can fold or roll down the top to seal your bag. Which ever suits your fancy.
I opted for some neat folds.
You could of course, just staple or adhere your bag closed. However, a couple of punched holes gies you the option of tying on some ribbon.
I had one little scrap of this pretty striped ribbon that I have been hanging onto forever. Probably because it was meant for this project. ;)
I dug through my scrap die cuts bin (Do you have one of these? You really should they are perfect for crafting in a hurry! I use mine for cards, tags and gift packages, not to mention layouts.) and found a few pretty pieces that I could combine to make a quicky tag.
And just like that we are done, and our little gift bag is all ready to give away!


No comments:
Post a Comment