Our DT member, Tiiu Jaanusson, is sharing a fun tutorial with us today! I will hand things over to here to lead you through her process for tie-dyed ribbon!
"Hey everyone!
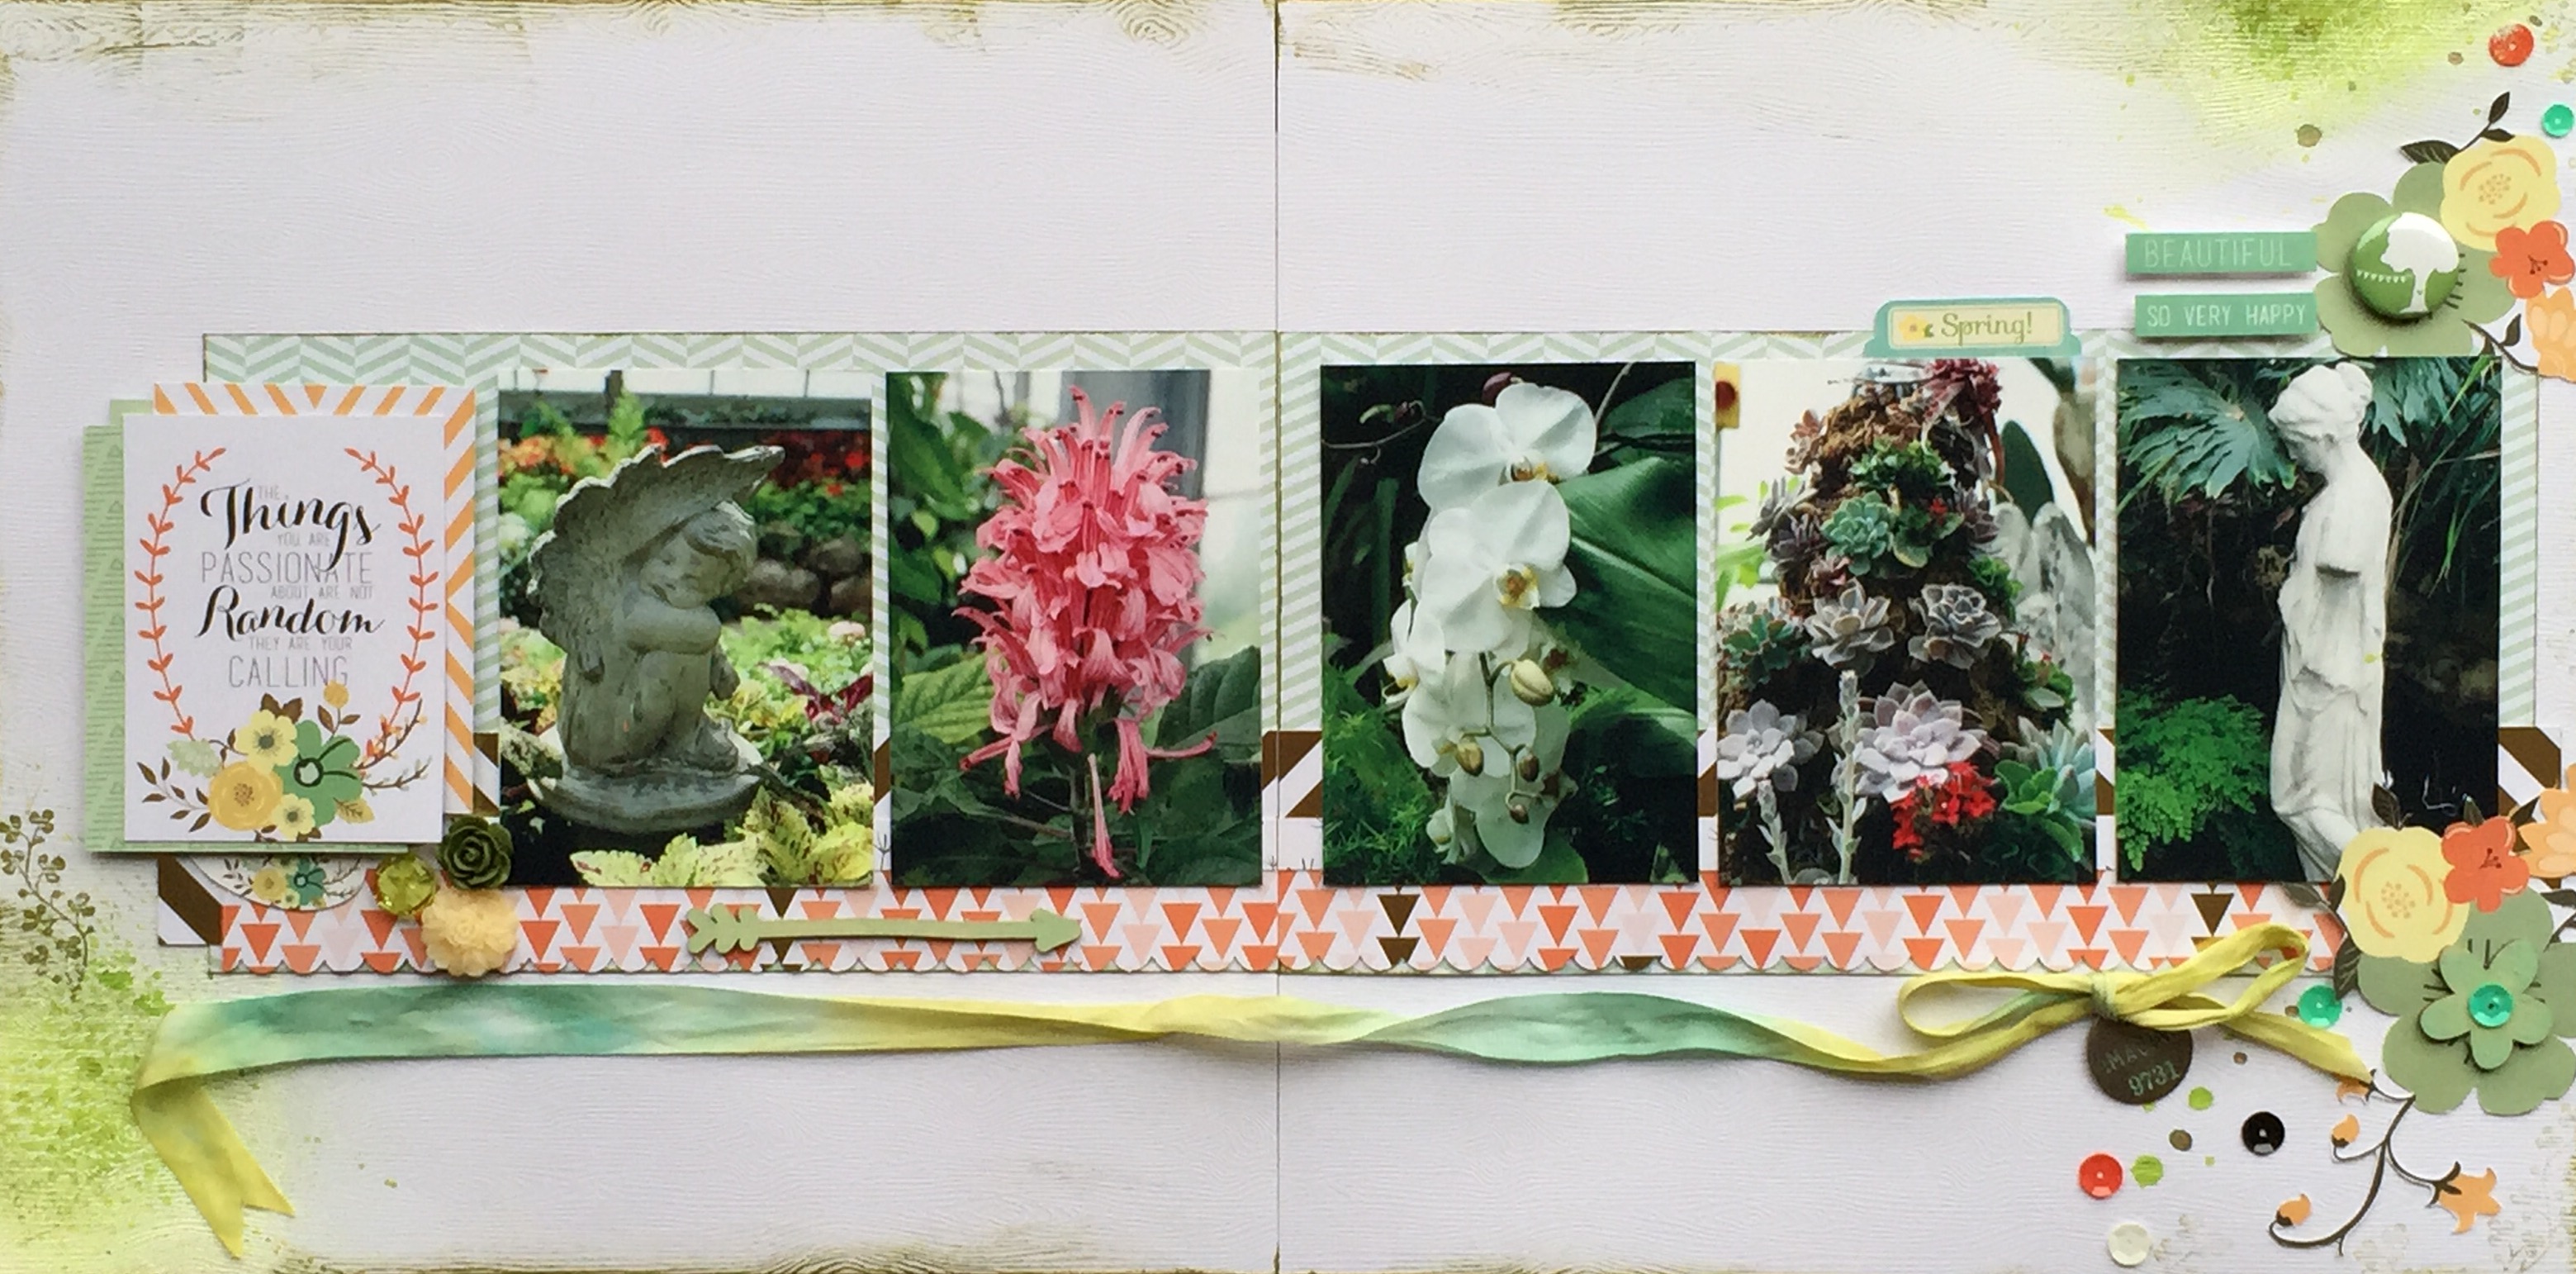
I'm here with a rare tutorial sharing the technique of how I created that fabulous "Tie Dye" ribbon in my Botanique layout.
It's a technique I've used in a few different ways on a number of projects that I made at various events - mostly Inspiration Unlimited and at Creative Escape too.
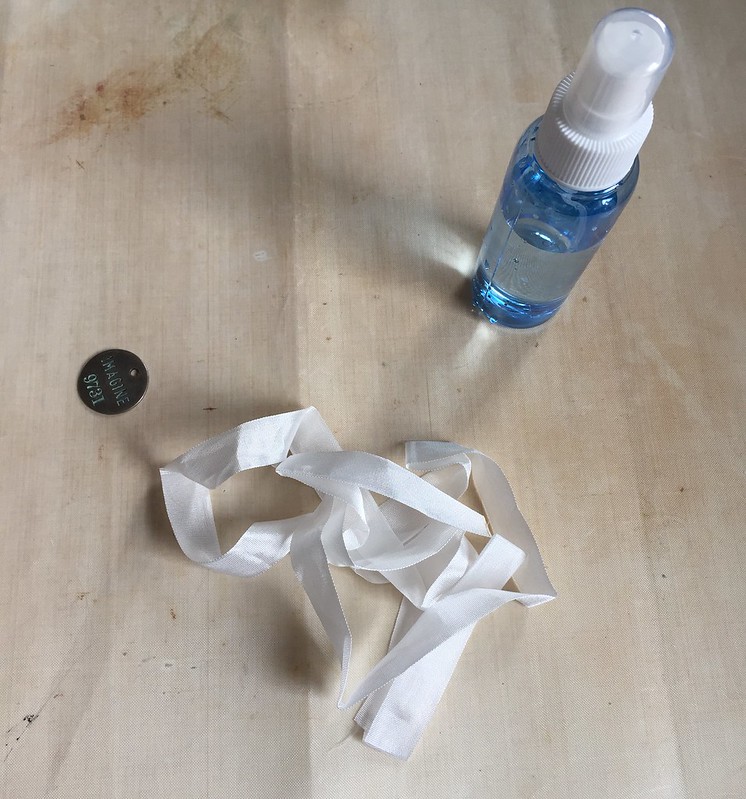
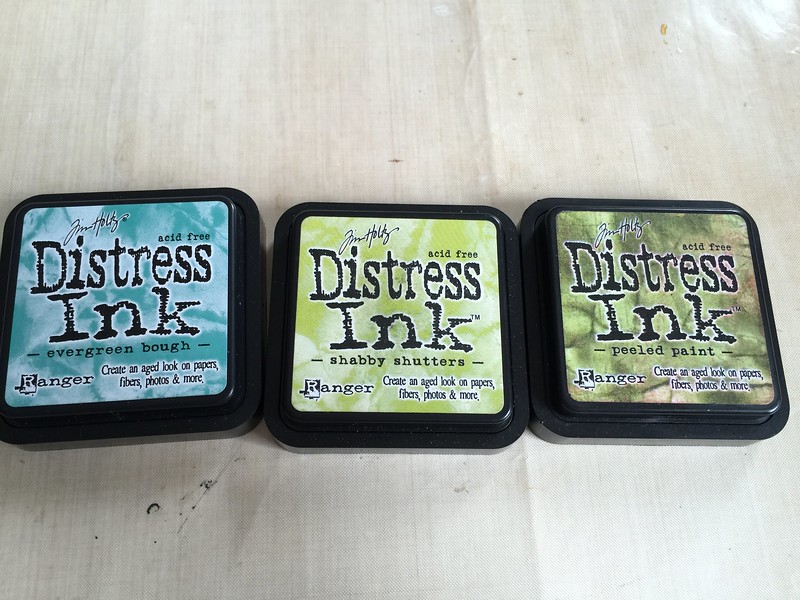
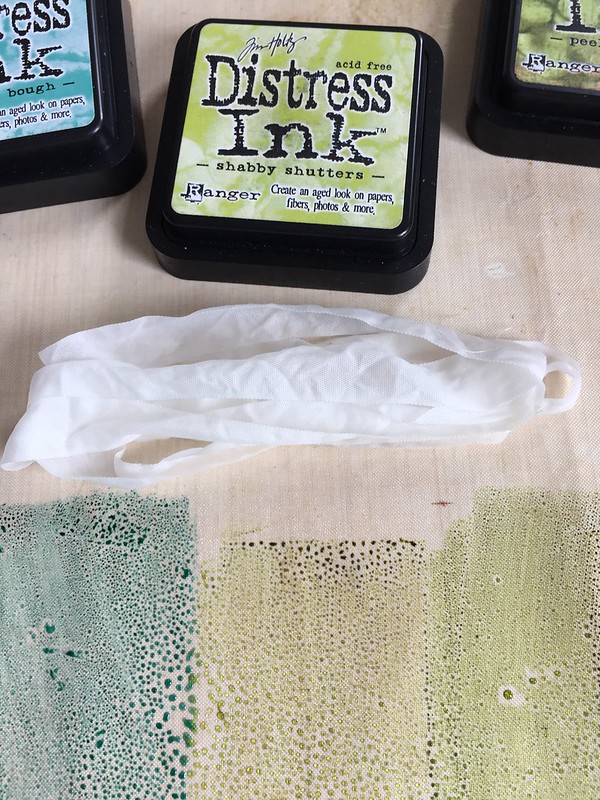
So here's what you need: A Ranger Ink Non-Stick Craft Sheet (This is a MUST!!); 3 or more colours of Tim Holtz Distress Ink Pads; Tim Holtz Idea-Ology Crinkle Ribbon; and a water spray bottle.
I chose 3 different greens for the ribbon to stick with my monochromatic botanical feel.
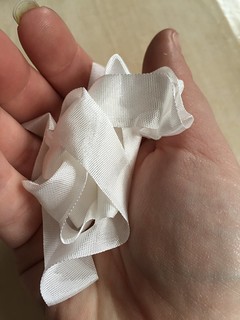
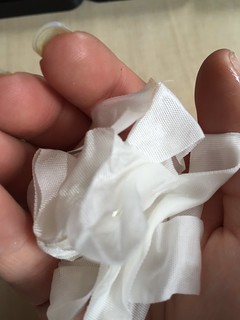
Take a length of ribbon you'd like to use and crinkle it in your hand, then spritz with water to get the ribbon well wet as it will help the colours to blend on the ribbon.
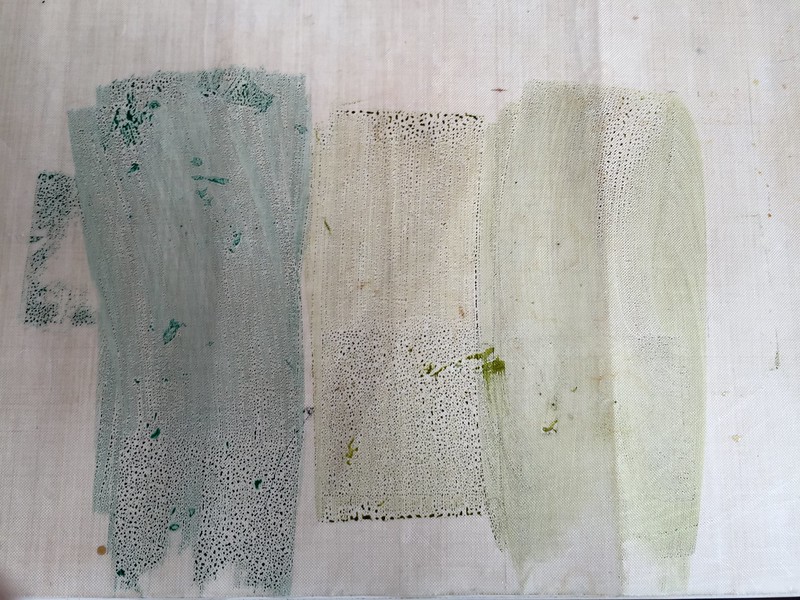
Then take your inks and ink up your craft mat so that the edges are close enough to touch. Try not to overlap so that the ink pads don't pick up the ink from the other.
Then take your water and mist the ink on your mat. The inks are water-based and will react nicely with the fine mist of extra water, and will also help to draw it along the ribbon.
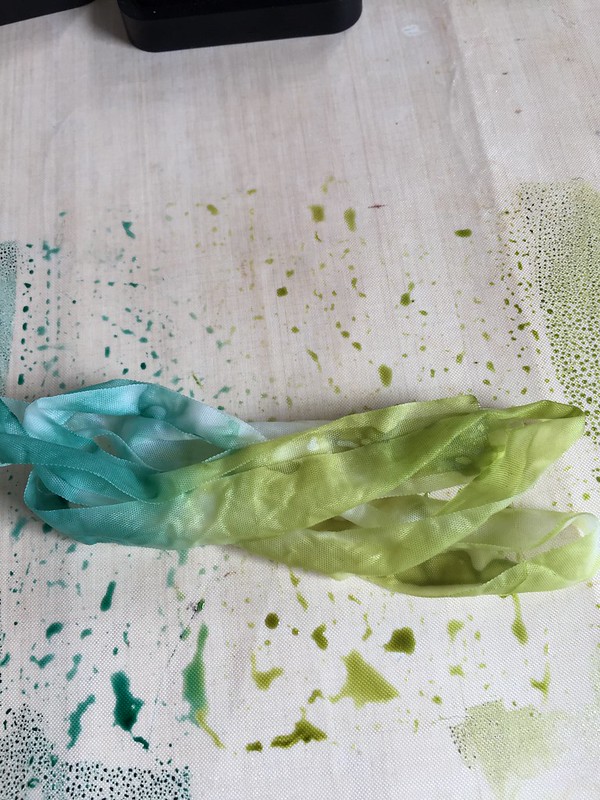
I fold my ribbon evenly, and then just move it back and forth through the lines of ink and watch the ink work it's way through the ribbon. At this point you control just how much or how little colour and white space you want your ribbon to have.
That's seriously it. Then just set it aside to dry, or if you are impatient you can gently use your heat tool too.
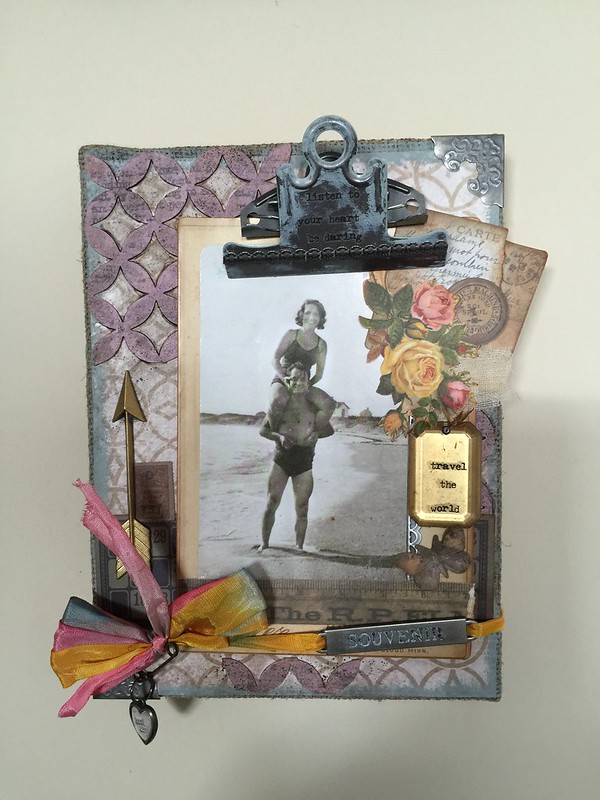
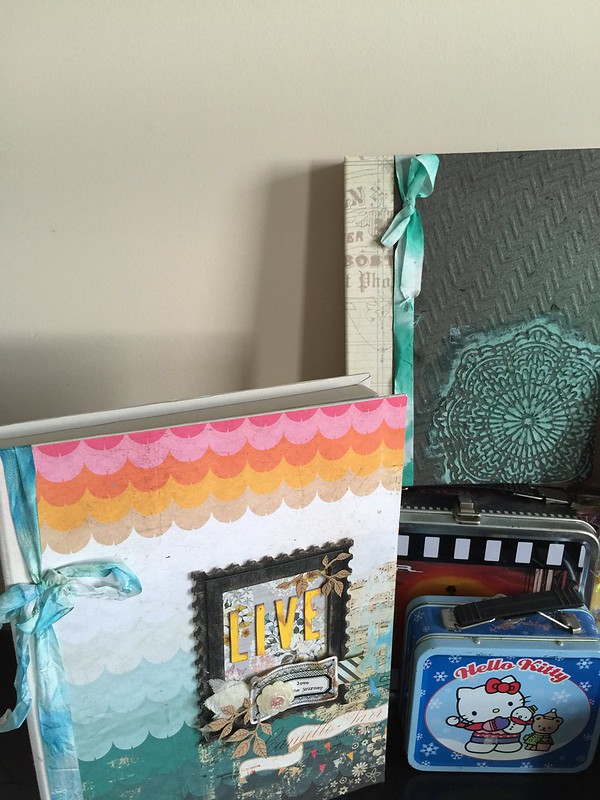
Here are some projects where I've either done this or a similar technique with the ribbon.
On these next three projects I have run the ribbon dry through a small
bowl of Tattered Angels Glimmer Mist and then scrunched after, or a
quick dry scrunch, dip and remove to dry. It gives a slightly different
effect as you'll see, but for the most part the end result is the same.
Does anyone else have problems with curious kitties while crafting or is it just me?
I hope this inspires you to find some fun new ways to work some ribbon in to your layouts (and get your fingers wonderfully inky!).
Thanks for stopping by!
Thank you for sharing, Tiiu, that is a fantastic technique I think you will be seeing some gorgeous ribbons on our projects in the near future!
And thank you all for joining us! If you are looking for any of the products mentioned in the tutorial, please email the store.



What an awesome technique. Is there anything Tim Holtz Distress Inks can't do?! (Love the cats!)
ReplyDeleteNeat technique. Gotta to try this one day.
ReplyDelete